# Shipment
Assigning a Delivery Person to a Shipment
------------------------------------------------------------------------------
- While entering **shipment details during a sale**, you can select or assign a **delivery person**.
- This helps track who is responsible for delivering the order.
Printing a Delivery Note (Delivery Receipt)
--------------------------------------------------------------------------------
Follow the steps below to generate and print a delivery note for a sale.
### Step-by-Step Process
**Step 1:**
While creating the sale, ensure that **shipping details** are added.
- Go to **Invoice** and click on **Shipment.**
[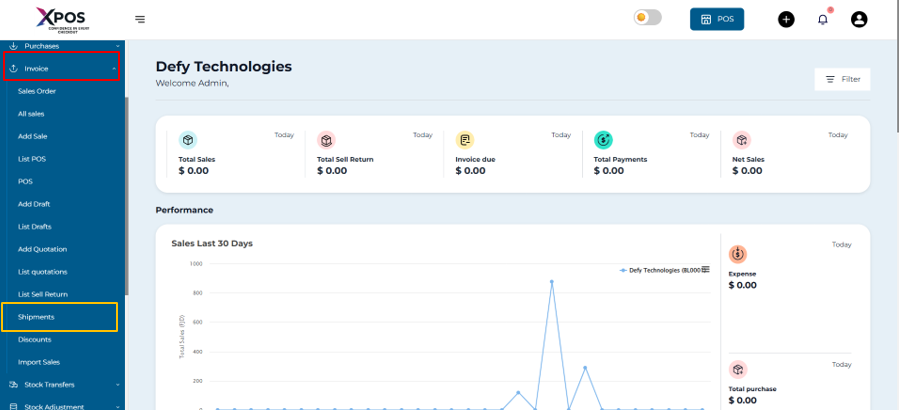](https://learn.defy.com.fj/uploads/images/gallery/2026-02/qrhrEgI90sPFC7aP-screenshot-2026-02-08-164425.png)
- Press the **Filter.**
- Fill in the details to locate your specific products

**Step 2:**
- Go to the **Invoice** > **All Sales** screen and locate the sale created in Step 1.

**Step 3:**
- If you want your shipment details to be edited, click one the **edit** dropdown menu and press **edit shipping** to change any adjustments.
